So, today is the day your designer hands you a design that has different layout on iPads and looks like a perfect example to use StackViews. Vertical on compact sizes and horizontal on regular.
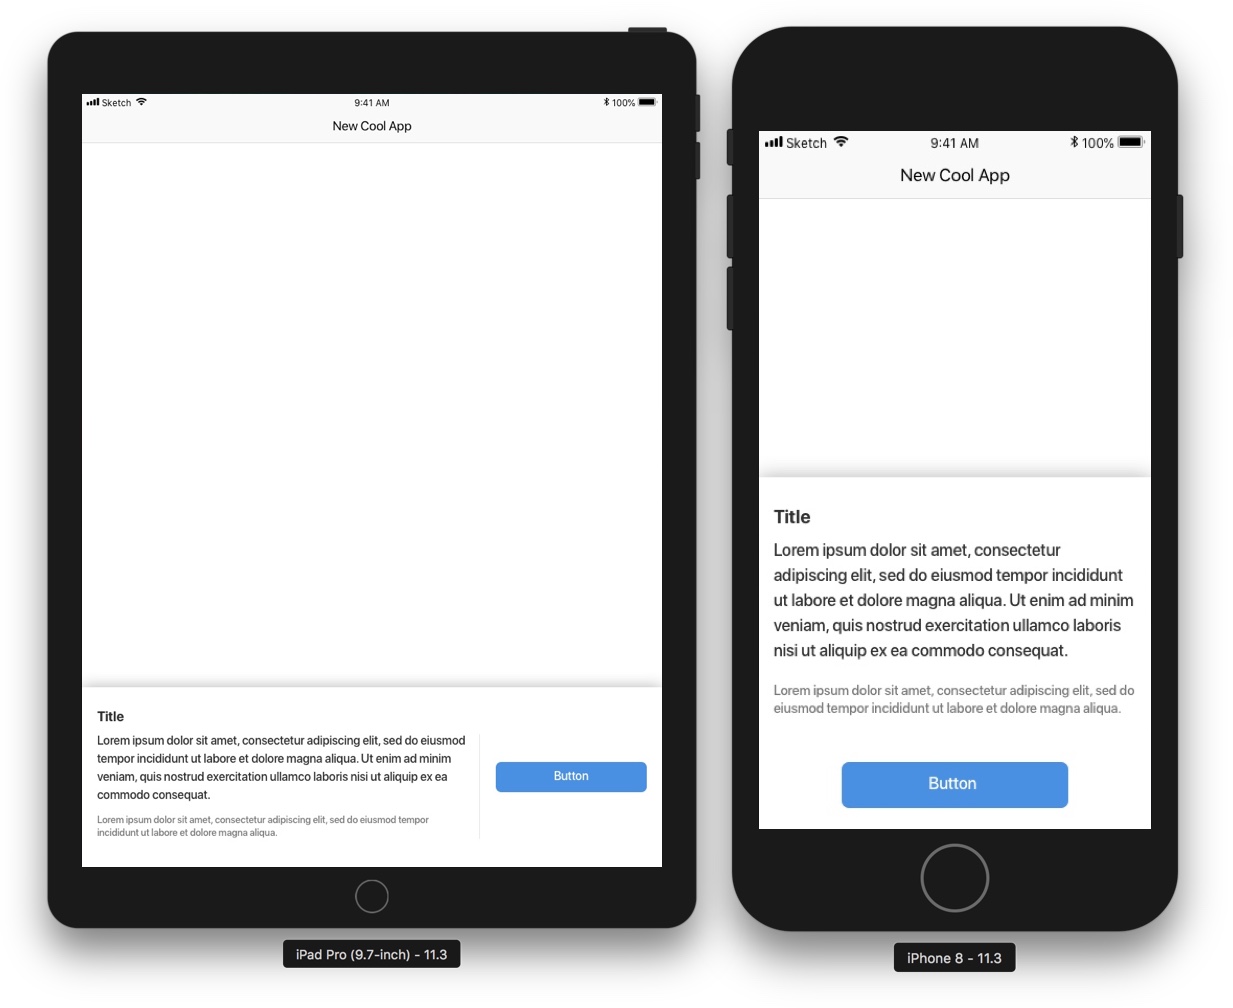
So you start adding the labels and button to your view - in this case using IB. You add some constraints here and there. Group the labels into one or multiple stack views, everything else to another. Set the alignment to center to get that button centered on iPads and so on. It all starts to look like the designs, until you get to this point:
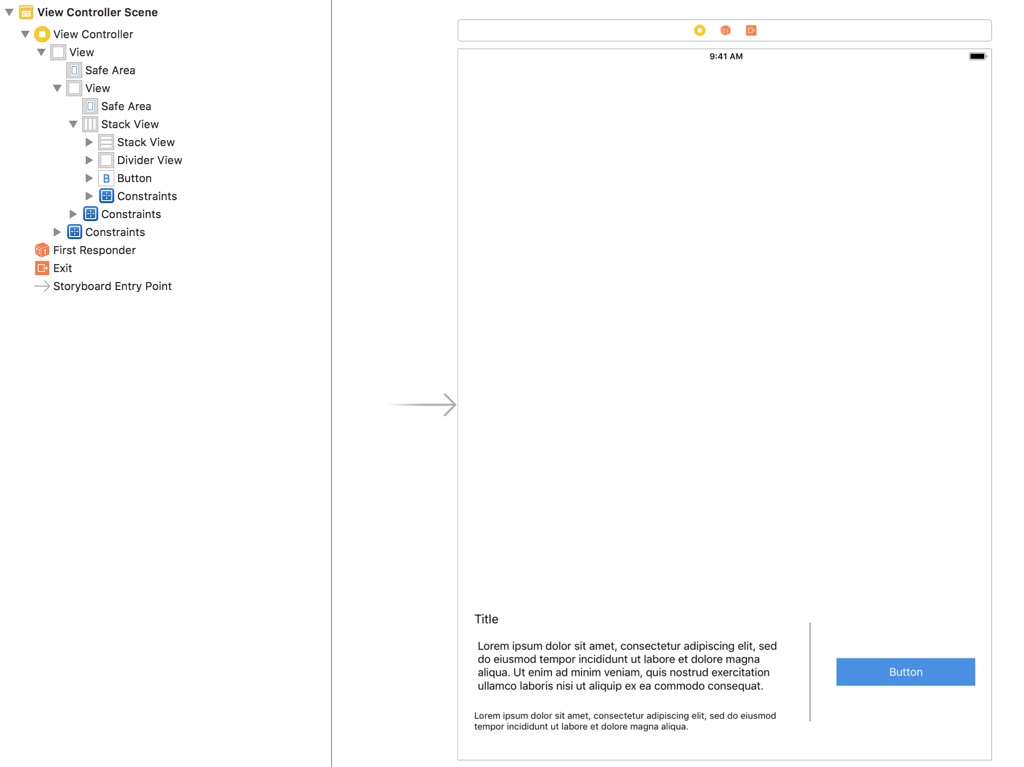
Everything looks pretty good except that gray divider line. See in designs it looks like it should start from the top of the first “Lorem ipsum” and end at the second. Your first insctinct would probably be to just add some constraint. Well at least it was mine. Constaining the bottom to the bottom of second “Lorem ipsum” works just fine, but if you try to add top constraint, that pushes the parent stack view.
So what’s the solution? Put it inside stack view? No, doesn’t work. How about inside another view? Perfect! The parent view can align with the stack view and we can size our divider the way we want.
You can download the end result from the Github.